The LibraryLink Image Viewer offers a quick and convenient way to open and display all common image formats from within LibraryLink. The Image Viewer allows zooming in and out, maximising the image to the size of the window and displaying the image at the original size (Figure 1; Viewer controls highlighted). The Image Viewer is started by double clicking a thumbnail or by right clicking a thumbnail and choosing "Open" from the menu. A single image can be printed using the "Print Image" button.
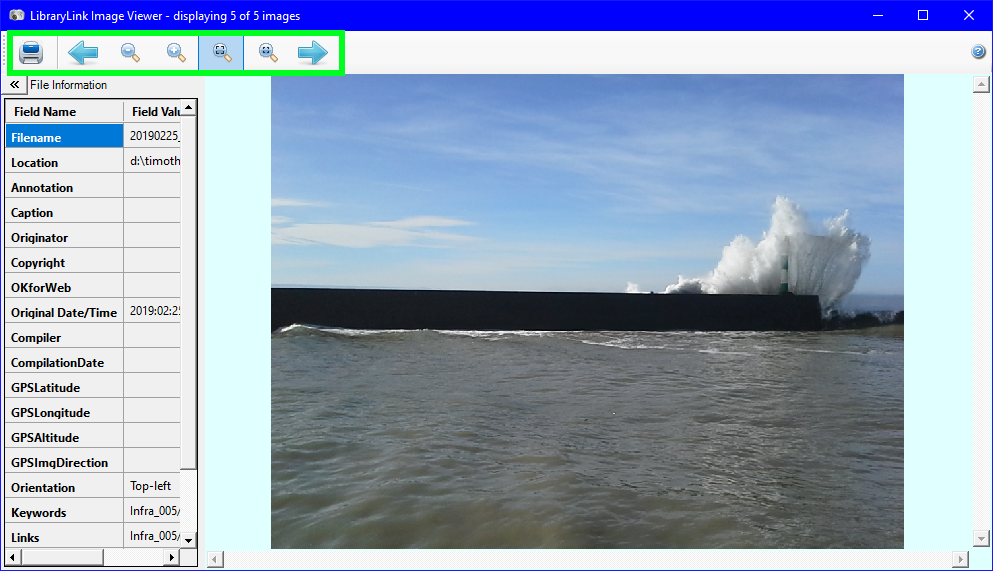
Figure 1: LibraryLink Image Viewer.
The buttons (highlighted in Figure 1 above) have the following functions:
Selecting multiple images and selecting "Open" from the pop-up menu opens the Viewer in multiple image mode (Figure 2). In this view the selected thumbnails are shown in a strip at the bottom of the window. Clicking on a thumbnail displays the image in the upper pane of the window. The height of the strip can be altered by clicking on the divider between the panes and dragging up or down. The Image Viewer also has an extra button which allows the images in the strip to be viewed as a slide show. The associated drop down allows the slideshow to be configured to show the images at their original size or resized to fit the screen. While playing the slide show, it can be paused and re-started by pressing the space bar, and stopped by pressing the Esc key. Further controls are available from the right-click menu.
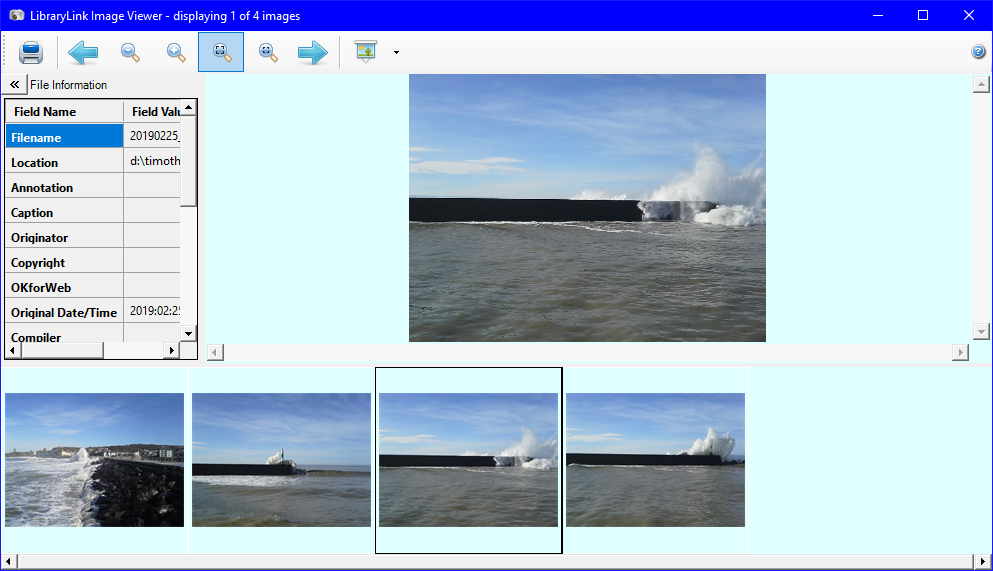 Figure 2: LibraryLink Image Viewer with multiple images.